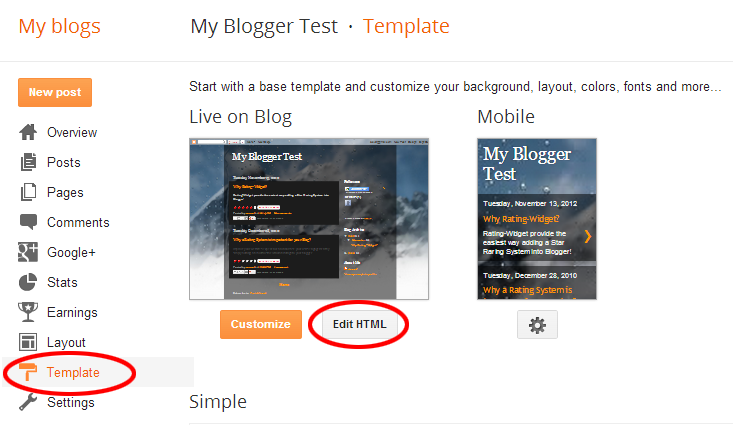
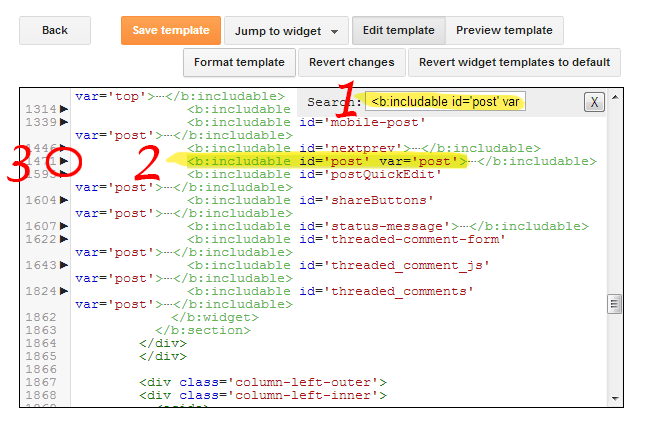
Open your Blogger’s template editor. There, search for ratingwidget in the code.
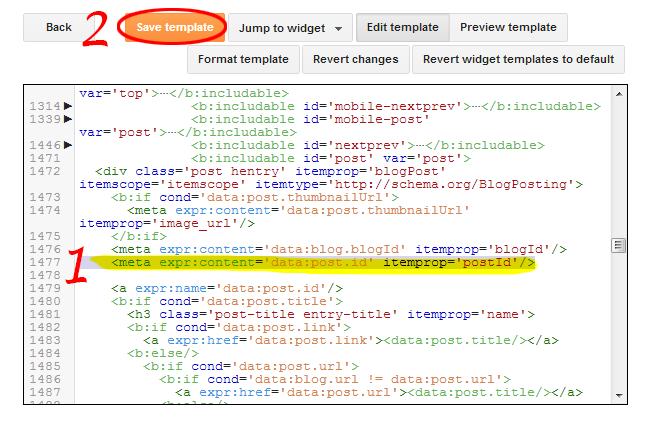
Replace the following code:
<b:includable id=’main’><data:content/></b:includable>
With the following code wrapped with the required page type criteria:
<b:includable id='main'><b:if cond='data:blog.pageType != "static_page"'><data:content/></b:if></b:includable>